Rubrics are an essential part of the assessment and evaluation process. The achievement charts in the Ontario curriculum documents guide how all of our evaluations of student work should be compared. However, teacher-created rubrics are useful and valid. Here are my tips and suggestions for how to make a rubric for any subject.
What is a rubric?
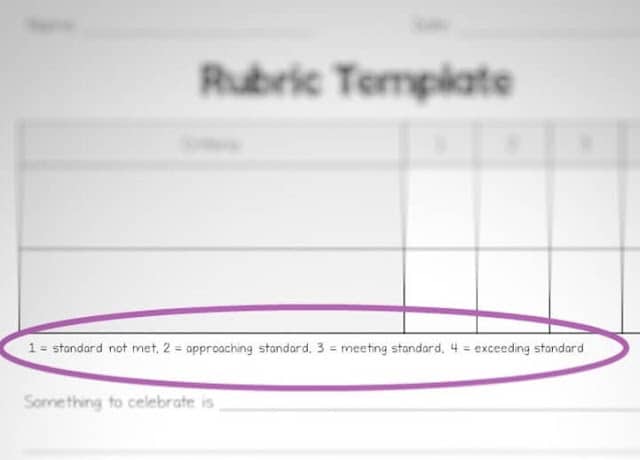
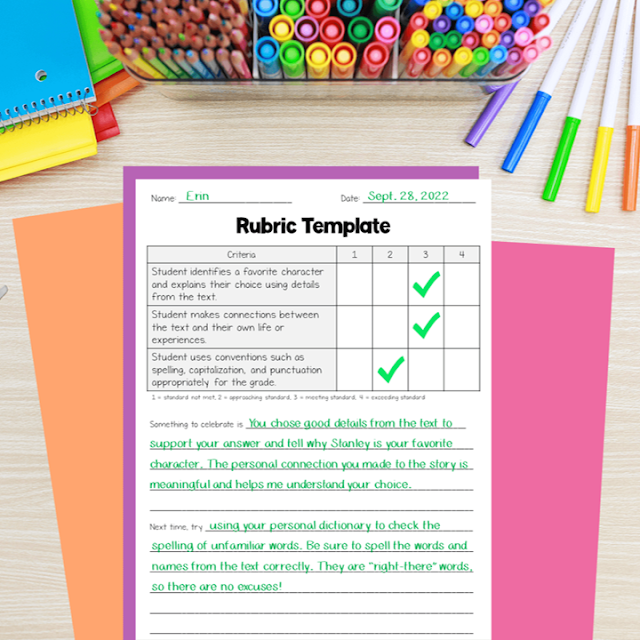
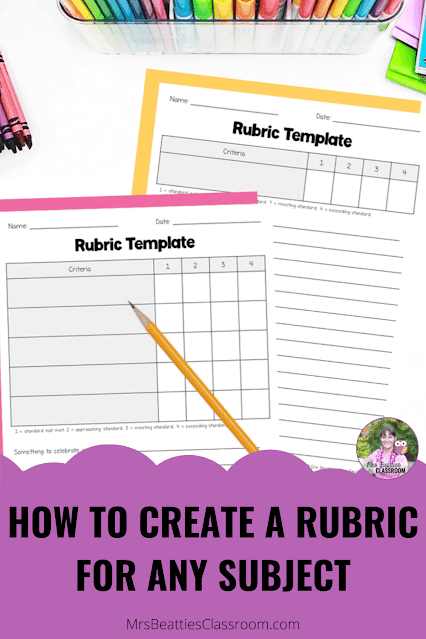
A rubric is an assessment tool designed to describe achievement across various levels objectively. It is typically designed as a chart with the criteria in one column and varying degrees of competencies described in the subsequent columns, representing the levels of achievement. Rubrics can state precisely what performance at each level looks like, or they can be open, with the teacher using a guide like the one below to assign levels to student work.
Why use rubrics?
Rubrics provide more depth than a single grade on an assignment. They break down tasks into the various components that may be evaluated and allow for an objective look at each part separately from the whole assignment. They also allow for easy cross-curricular integration of expectations. You can easily get reading and writing marks from the same piece when your expectations for students are clear!
For example, a student may have written a strong reading response using the text to support their thinking but may lack appropriate spelling and punctuation conventions for the grade. A rubric allows both criteria to be considered when assigning a grade to the work.
How to make a rubric
There are several things to consider when you’re creating a rubric. It is important to consider whether you are assessing formative or summative student work. Let’s break it down.
1. Decide on the criteria
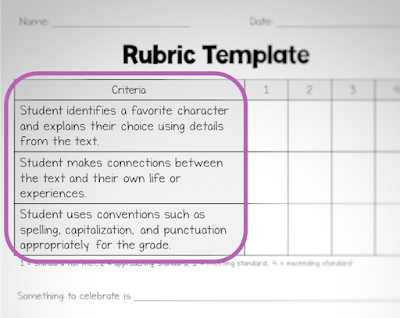
The criteria, or what you’re assessing, is the foundation of the rubric. Take the task or assignment you wish to evaluate and list the things you want your students to demonstrate they can do.
Co-creating the criteria with your students is a good idea since it gives them a clear picture of what you expect from them. Regardless, sharing the requirements in advance is critical to student success.
If your mandated curriculum includes a rubric or achievement chart, use it as a guide as you identify your assessment criteria. You will want to be sure that you evaluate students on all parts of the achievement chart over the year.
2. Describe levels of achievement
Different districts require assessment across different levels. Here in Ontario, we use a four-point rubric or four performance levels. A rubric can have levels that range from just complete/incomplete to multiple levels of mastery.
In my classroom, I generally use the following:
limited, some, considerable/most, thorough/almost all
or
not yet, getting there, on track, exceeding expectations
I usually use the levels in the first list for rubrics that my students don’t need to see and the second list for rubrics I’ll share with my students.
In a full rubric, you will take the criteria and describe what each looks like at every level of achievement. You can see an example of this in the 2020 Ontario Achievement Chart for Mathematics.
3. Try it out and revise if necessary
Before using your new tool to assess student work, try using it to evaluate one piece. Does it address all the goals you wanted to assess? Is it worded in a clear, objective way? Is there anything you need to adjust to better suit your needs?
4. Use the rubric to provide constructive feedback
Rubrics are useless if they don’t inform students about their progress. Unless the rubric is part of a summative assessment, you should use it to share some next steps with your students.
I like to use completed rubrics to let my students know what criteria they should be proud of doing well and what they should work on next to continue to grow and improve their skills.
In my Reader’s Notebook and Reading Response resource, I’ve included several editable rubrics with a full page of criteria ideas for assessing student work. You can grab that here:
If you’d like some free editable rubric templates to get started with, click the image below.
If you’ve enjoyed this post, please share it with friends and colleagues on Facebook or pin it on Pinterest:

