Are you a blogger sharing digital goodies or a teacher wanting to simplify assigning digital resources to your students? This tip is for you! I’m sharing step-by-step instructions for creating an automatic download link to a Google Drive resource!
The first step is to save your resource to Google Drive. I have many files in my Google Drive, so I have created a folder that is reserved only for the files I plan to share.
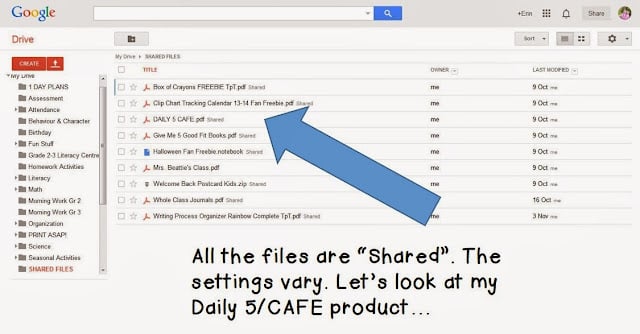
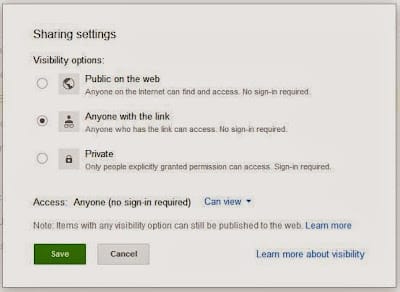
When you share a file electronically in Google Drive, know that you have options about who you share with. For my purposes, I choose to share with anyone who has the link. That means not everyone has access unless I want them to!
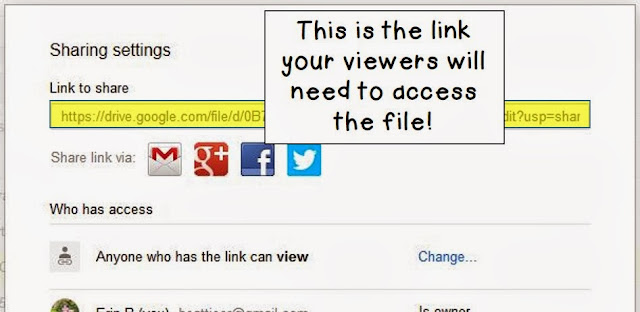
Once that’s done, you’ll be given the link that others will use to access your resource:
Once you have this link, you must open Notepad or a word-processing document to have somewhere to copy and paste.
Copy and paste the file URL to your work area. It will look something like this:
https://drive.google.com/file/d/0B7gOvS8EhmZSQ1VxbXhfaDVtNjQ/edit?usp=sharing
The next part is the most important! Paste this string into your work area:
https://drive.google.com/uc?export=download&id=
It is this piece that creates the auto download. Next, go back to the shared URL and copy the file ID. It is the long string of numbers and letters that looks like this:
https://drive.google.com/file/d/0B7gOvS8EhmZSQ1VxbXhfaDVtNjQ/edit?usp=sharing
You will paste that string of characters to the end of the highlighted URL above, right after the = sign. That should do it!! Copy the entire address and paste it into your browser’s address bar to test it out. You should see that your file will begin to download automatically!
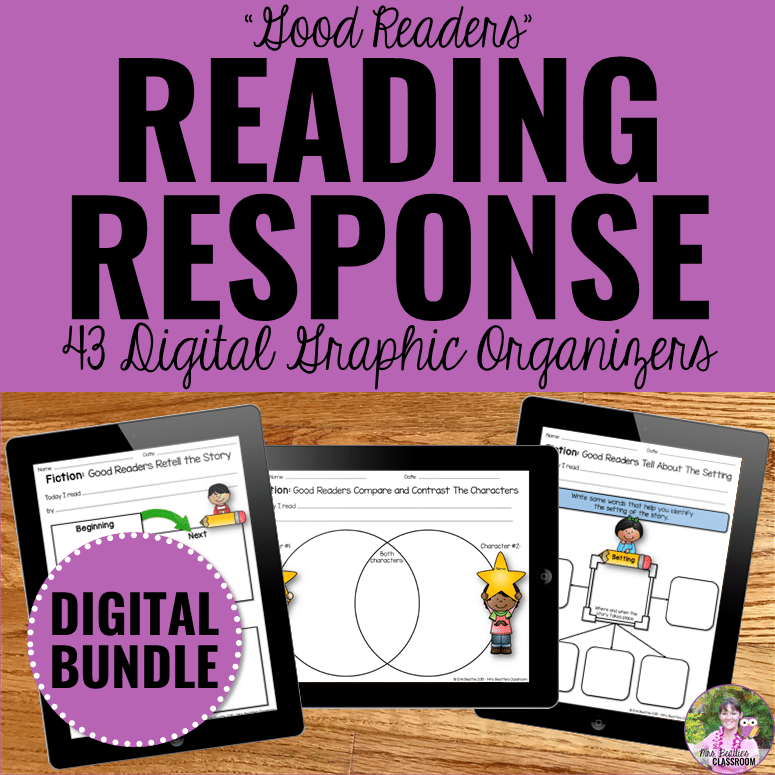
You might be interested in this bundle of graphic organizers for fiction and nonfiction for your Google classroom!
Be sure to pin this post so you can return to it the next time you need to make an automatic download link!