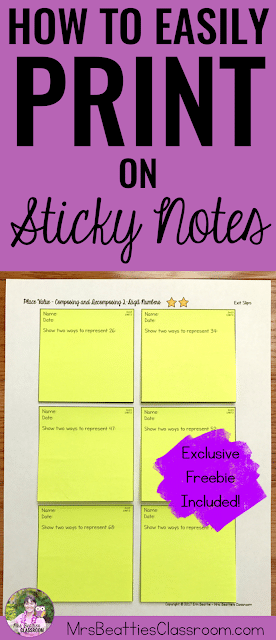
I’ve been asked several times lately how I print on sticky notes in my new Differentiated Guided Math Lessons package. It’s really very easy and a trick that can be used for many different purposes in the classroom.
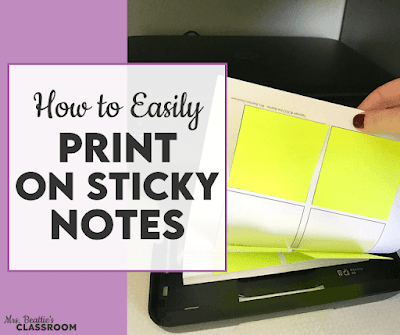
The first thing you need is a printed template of the page you want on sticky notes. In this tutorial, I am using a page of exit slips.
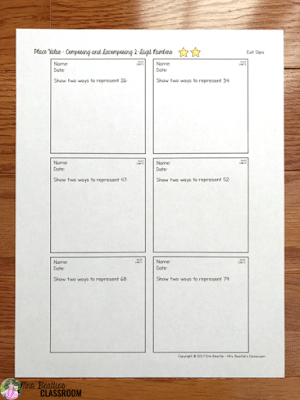
All exit slips and observation/assessment forms in my Guided Math Lesson package use this identical template for printing onto 3-inch pages. I like to keep a master copy, so I always have a template available without printing the extra page each time.
Next, remove the stickies from the side to prevent the adhesive edge from curling (more on that here) and place each one directly over the template squares. I recommend using the brand-name Post-It notes rather than the cheaper alternatives because not all stickies stay 100% affixed to the paper, and you wouldn’t want a jam in your printer.
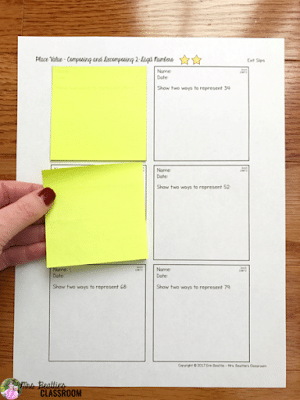
Be sure to place all the adhesive edges toward the top of the page. For the adhesive to pass through your printer successfully, they must all face the same way.
When you’re ready to print, insert the page so that the adhesive edge of the stickies (or the top) is fed into the printer first. The page will go upside-down in some printers, and in others, the right way up. You might need to test this out to be sure of how your device works.
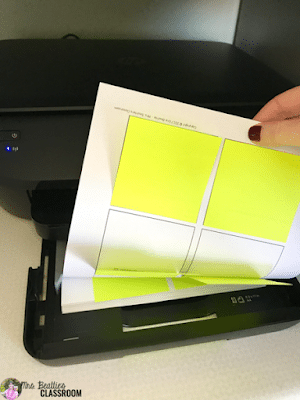
Finally, print the page you desire! It is as simple as that!
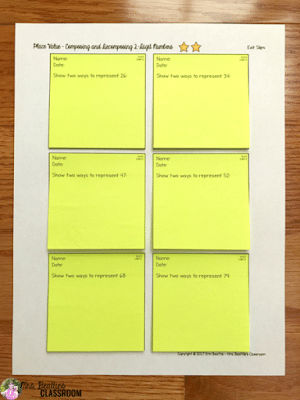
Remember to keep your template page unless you are printing something from a completely new template, as future pages will match up perfectly.
Need a template for your resources? I have an EDITABLE template for personal use in my Free Resource Library!
Please pin this post for easy access the next time you want to print on sticky notes!
