I’ve been using the Notebook software for several years and have become somewhat of a go-to person on my staff for newer users. There are many ways to make your lessons engaging and interactive for your students! I recommend reading through this post with a blank SMART Notebook file open on your computer so you can try each of the tips as you read.
Get to Know the Gallery
The Notebook Gallery has many images and flash files to get you started with your lessons. Click the Gallery tab to explore what it contains. Right now, I am looking at the menus for Gallery Essentials. Simply drag and drop items you see onto your page and explore what they can do!
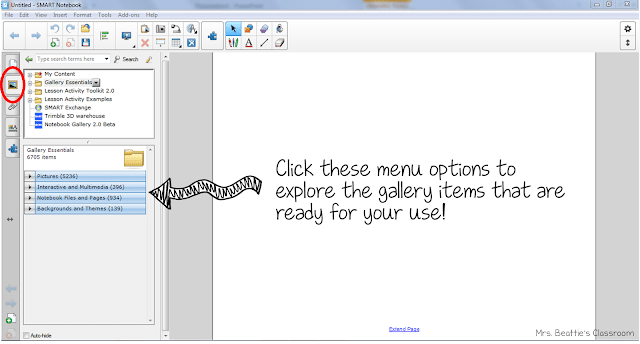
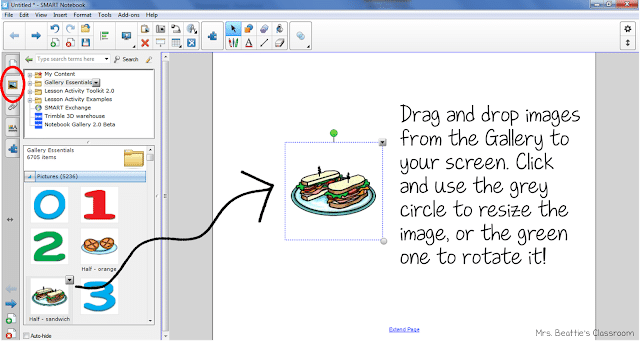
In the picture gallery, You will find coins and notes for several major worldwide currencies. SO helpful for lesson creation!
Since my goal is to make my lessons interactive and engaging, I tend to use more Interactive and Multimedia items rather than simple images (or I make them interactive using this software – more on that to come!).
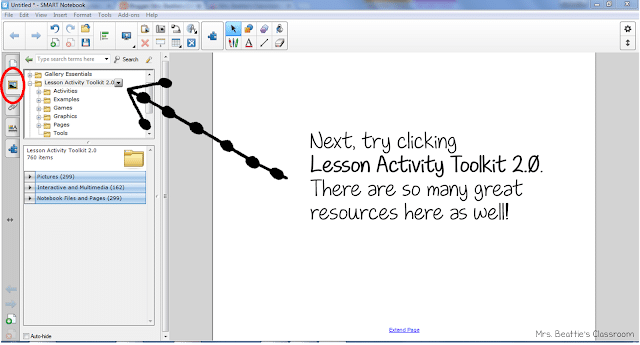
Get to Know the Toolbars
The next thing you’ll want to do is explore the toolbars. I have customized mine primarily with the features I’ll need to create my lesson rather than the tools I’d need when using the SMART Board itself. Hover over each button to see what it is called, and try clicking to see what each does. Click the gear on the far right of the toolbar to switch up the tools you see. Drag and drop from the options box to the toolbar to add something or from the toolbar back to the options box to remove something.

Right-Click
Right-clicking an object in your file will reveal many additional features. Try right-clicking and testing out some of the features in the top part of your menu.
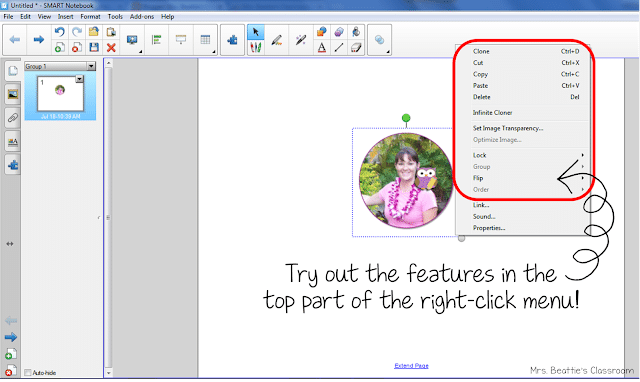
At the bottom of the right-click menu, you will find options to add a link or sound file when the object on the screen is touched or clicked. These features basically work in the same way as a PowerPoint or PDF file. Go ahead and try it now! The last selection in this menu will be addressed in the next section.
Animate
This feature is my go-to for lessons and activities simply because it is SO easy! You can animate the objects in your file using the Properties menu. You can access this by right-clicking the image you wish to animate or by clicking on the object and then clicking on the Properties tab on the left side of the screen.
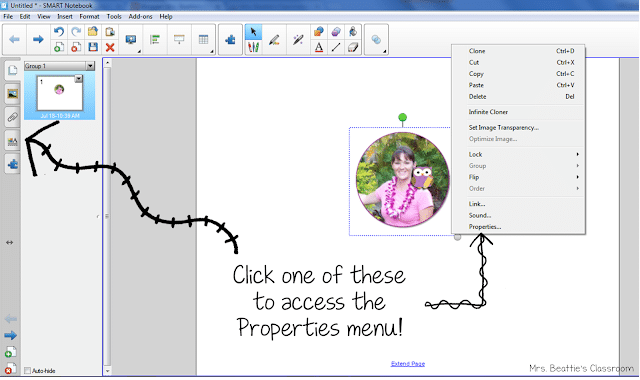
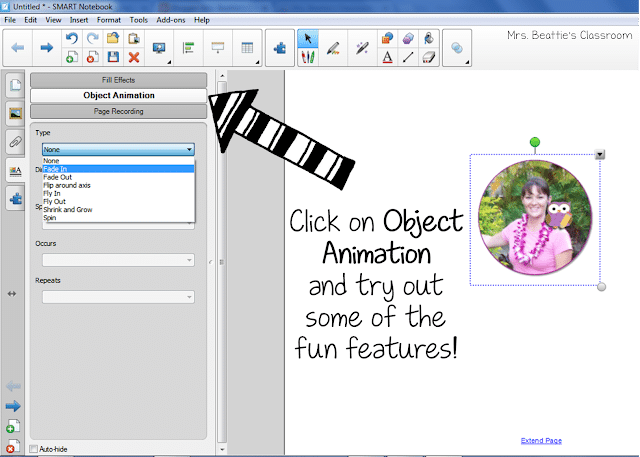
This is the feature I use when creating my attendance files for my students. (More on this in tip #6!) Try animating your image using a couple of different animations. (Note that if you set something to disappear or fly out of view, you should be able to reset it by clicking forward to a new page and then back again. To change the animation, you will have to right-click on the image because simply clicking it will start the animation again!)
Hiding Objects
Another great way to engage students is by hiding objects. This is perfect for having answers to your questions revealed. There are many ready-to-go tabs available in the Gallery! Simply click on the Gallery and type “tab” in the search bar! Choose a color and drag it onto your page. Follow the directions to edit the text on the tab. You can even change the font and font size if you wish. Follow the directions to edit the text. You can even change the font and font size if you wish.
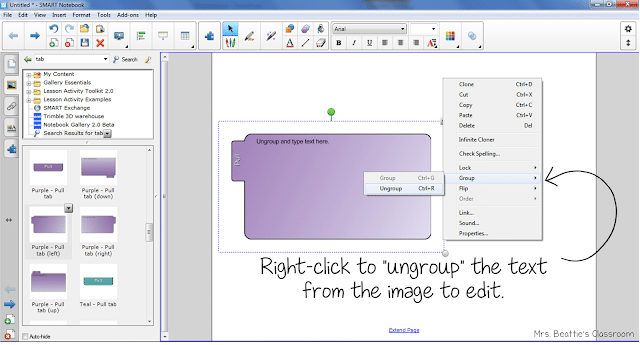
After you change the text, you must GROUP the text box and image together. Do this by highlighting both with your cursor (click and drag across the screen), right-clicking, and selecting Group. When this is done, “hide” your answer off the side of the page, leaving only the pull tab visible!
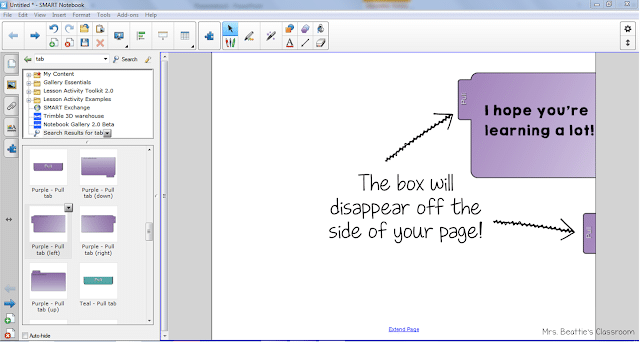
Once you’re comfortable with the Group/Ungroup feature, you can do this with ANY combination of text and images, easily creating your own fun and creative tabs!
Layer
You can also hide text under an image by layering. Kids love this!
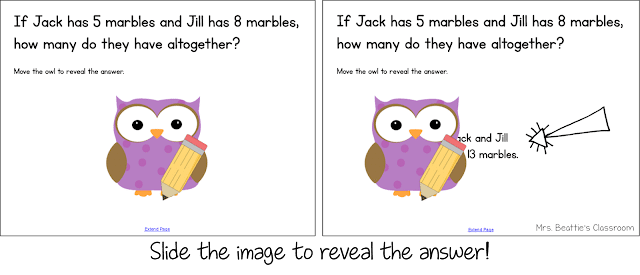
You must find the Order selection in the right-click menu to accomplish this. This will allow you to bring the image to the front or send the text box to the back.
Once you’ve figured this out, you can combine layering with animation to make your lessons POP! Let’s use the example above with the addition problem. Once the image is layered over the text, I click the image, open the Properties menu, and animate the owl to Fade Out when clicked.
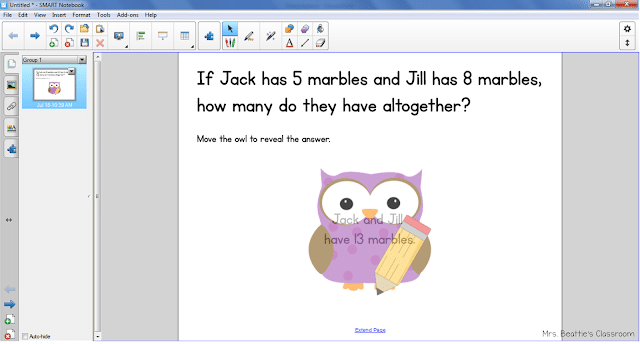
When I create my SMART Board attendance files for my students, I use the Fade In selection. The image is layered over the text but is invisible so the name can be seen. When the student touches his or her name, he or she is really touching the invisible image, triggering the animation to fade in!
When I’m using the animations, I’m always sure to Lock my objects and text in place on the page. This prevents them from moving around when touched. Just be sure that if you intend for something to slide, you shouldn’t lock it!
Experiment
Now that you are familiar with the basics, do some EXPERIMENTING!! The best way to feel truly comfortable with this software is to USE it! Try creating your own lesson file or downloading a ready-to-go file from SMART Exchange and examining how it has been put together.
What are you waiting for? Go, go, GO! Don’t hesitate to contact me if you have any questions!
Note to TpT Sellers: Be aware of restrictions on using the Gallery objects and files in your paid products. Also, most clip artists do not allow their images to be used in a SMART Board file unless they can be secured. Be sure to play by the rules to respect their TOU!
So Many Resources!
If you’re not up to creating your own lessons from start to finish, there are TONS of ready-to-go lessons and activities for the SMART Board out there. I mentioned SMART Exchange earlier in this post – it is a free site full of files shared by teachers like you and me. They tend to be very basic – no frills or pretty pictures here.
Grab this FREEBIE GoNoodle Attendance file for your SMART Board to play around with a ready-to-go resource!
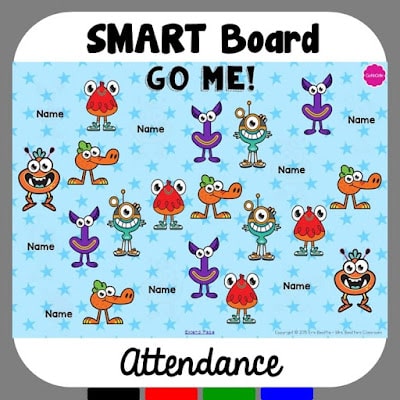
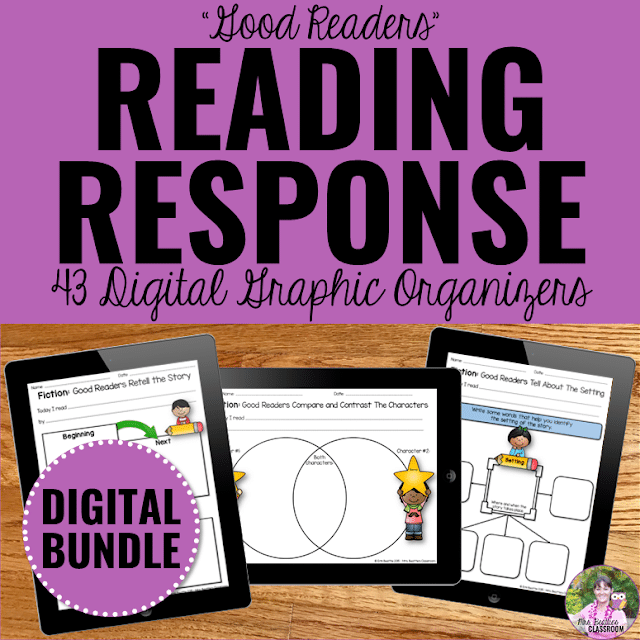
And don’t miss this other great ready-to-go SMART Board resource:
Want more great tips like these to use in your classroom? Pin this post:
